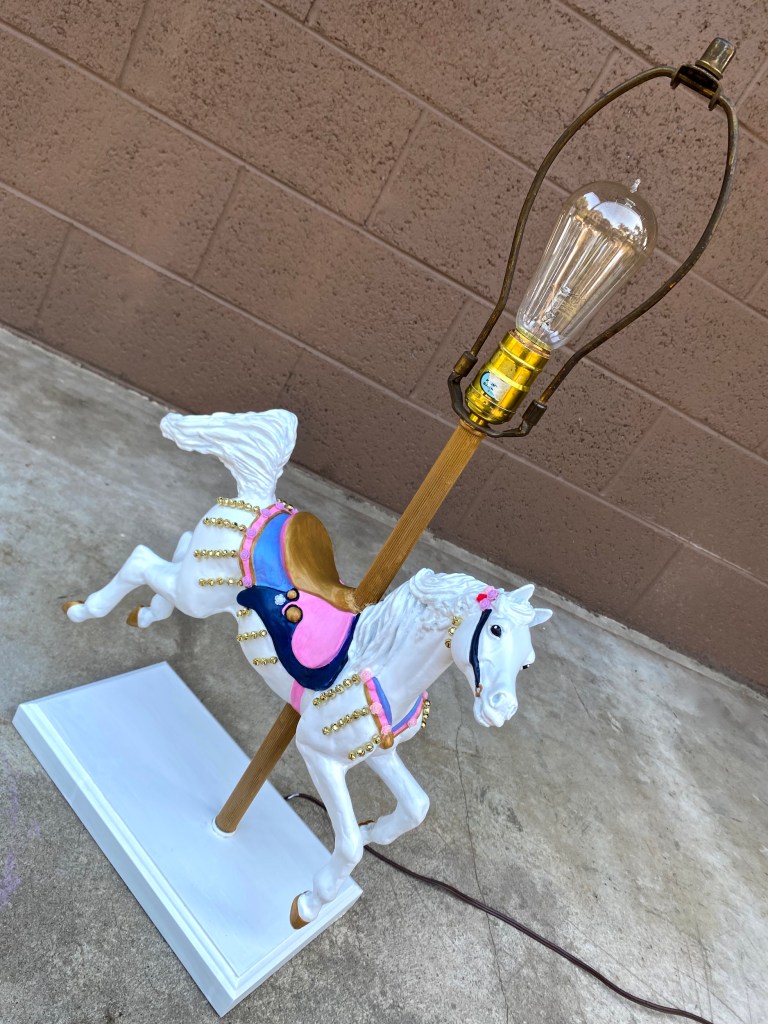
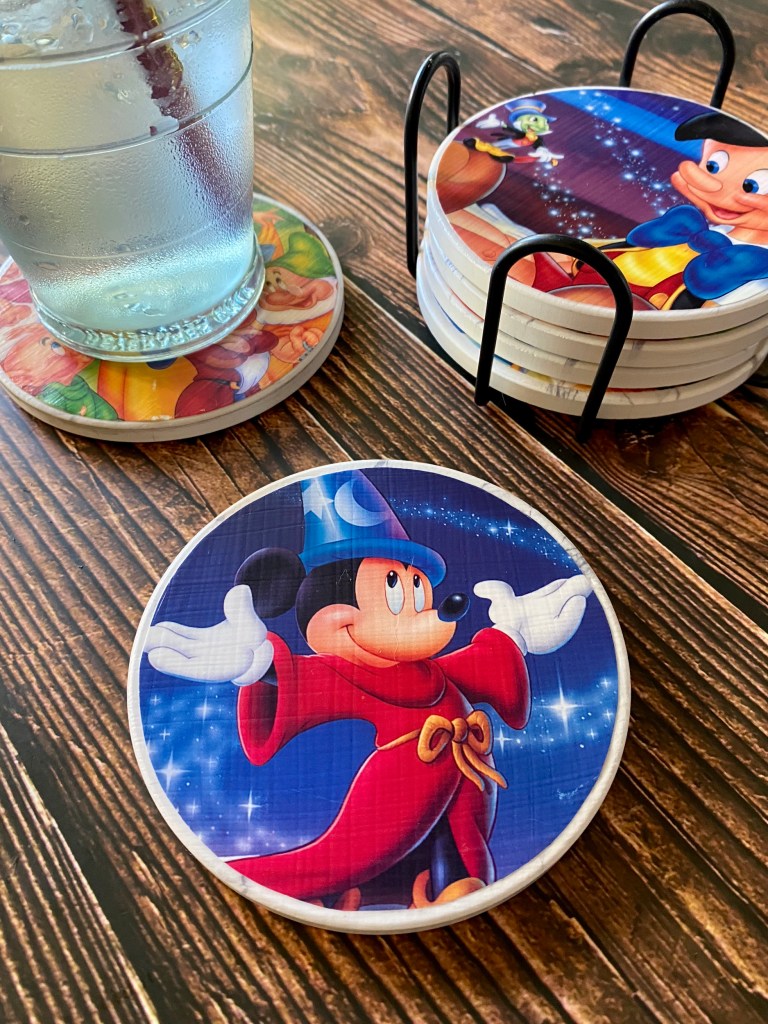
Disneyland is one of my happy places! Is it yours? I’ve always wanted to bring a little bit of the magic into my home by theming one of my rooms after the park and I’m finally getting started! My first piece of the room is a lamp inspired by “Jingles” from King Arthur’s Carousel!
My mom has had this carousel horse lamp for as long as I can remember and when they moved, she offered it to me. I took it, immediately re-imagining it as Jingles. It was a little difficult to get started, since this horse is in a different style and pose, but I took inspiration from the bells, flowers and colors!
Now I know not many people have spare carousel horse lamps lying around, but you’re welcome to follow my instructions if you do, or if you have something else similar that you would like to repaint and/or retheme. Have fun with your imagination!

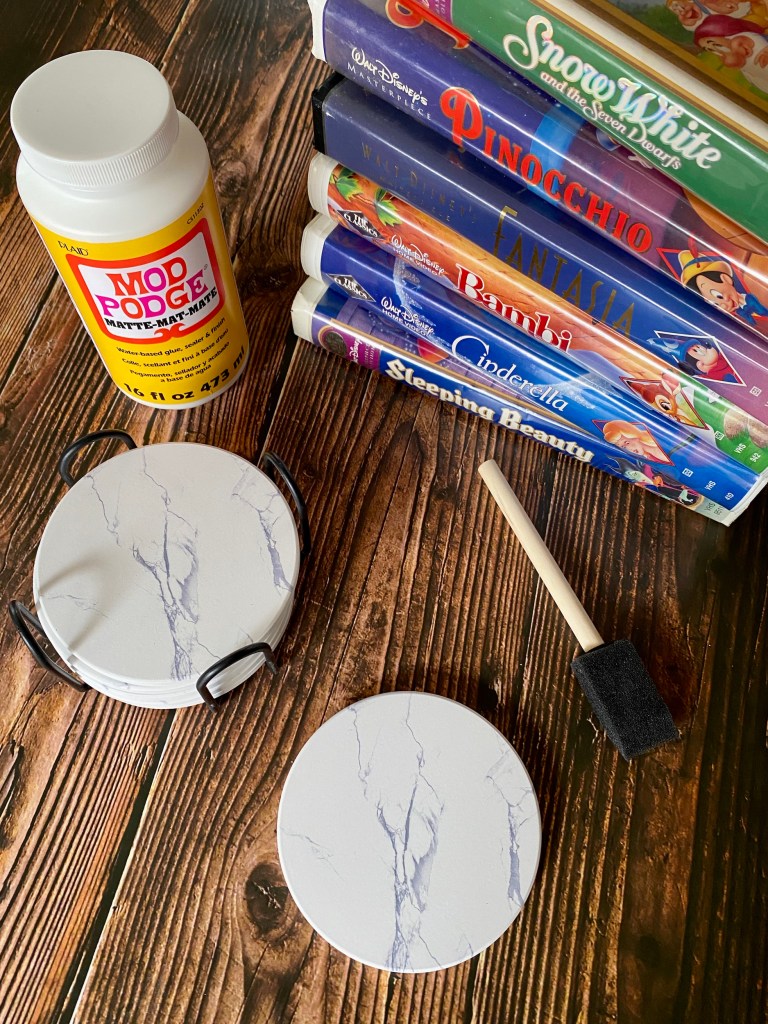
SUPPLIES
- Carousel horse lamp
- Washcloth
- Rubbing alcohol (optional)
- Small disposable bags and painters tape
- Krylon paint and primer spray (white)
- Sand paper
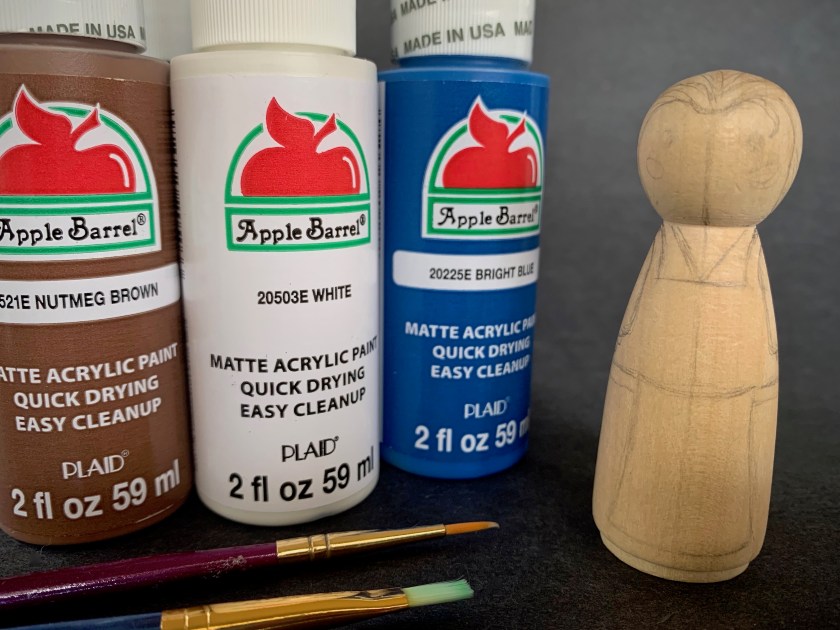
- Paint brushes
- Acrylic paints
- Hot glue gun with glue inserted
- 6mm gold jingle bells
- 8mm acrylic rosettes
- Varnish


INSTRUCTIONS
- Clean the lamp; wipe it down with a damp washcloth, then rubbing alcohol (if needed) and allow the lamp to dry.
- Wrap the cord, and the socket and light fixture up in plastic bags and secure them with painter’s tape.
- In a well ventilated area, spray the lamp with the white primer/paint. I am still getting the hang of spray painting, so if you’re like me and drips or bubbles form, wait for the lamp to completely dry then lightly sand out the rough parts. Wipe the lamp down with a damp washcloth and allow it to dry, then try again. I finished with brushing on white acrylic paint.
- Once you’re satisfied with the white coat and it’s dry, paint the saddle, bridle, eyes, hooves, pole and base. This may take more than one coat so be patient and allow them to dry in between each application.
- Once the paint is dry, paint or spray the lamp with a varnish. The finish is based on preference, I used matte, but you can up the gloss if you want!
- Once the varnish is dry, use the hot glue gun to glue roses along the bridle and anywhere else you prefer.
- Trace light pencil guidelines where you want the jingle bells to be, then attach them with hot glue.
- Insert a light bulb of your choice and enjoy!


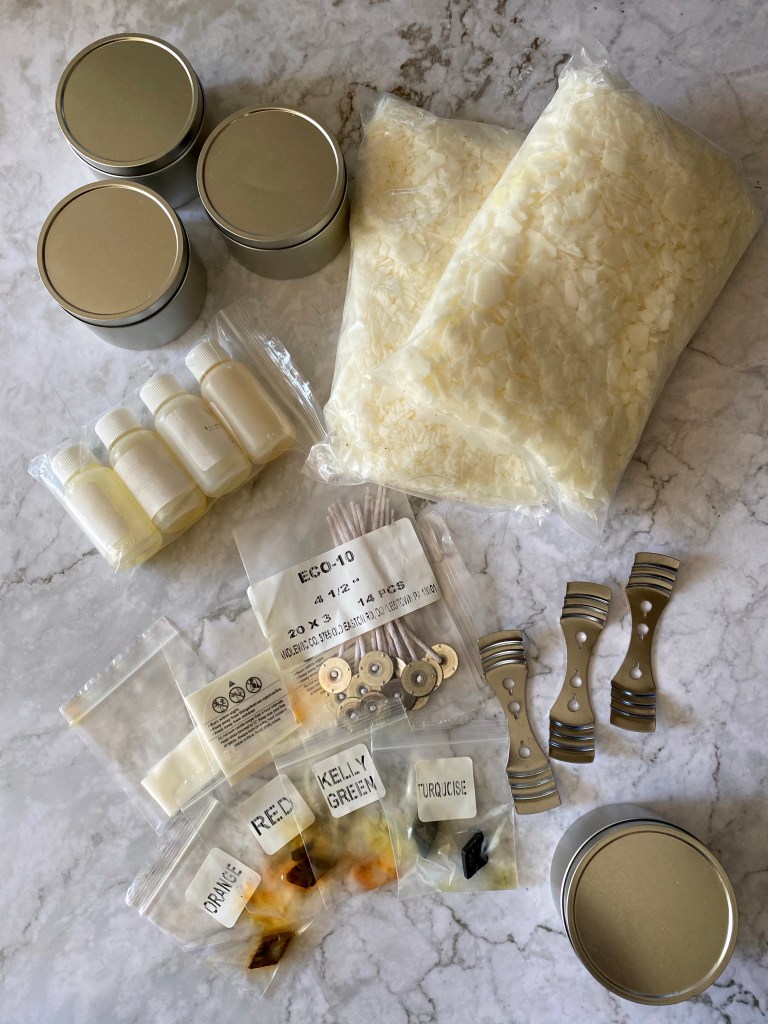
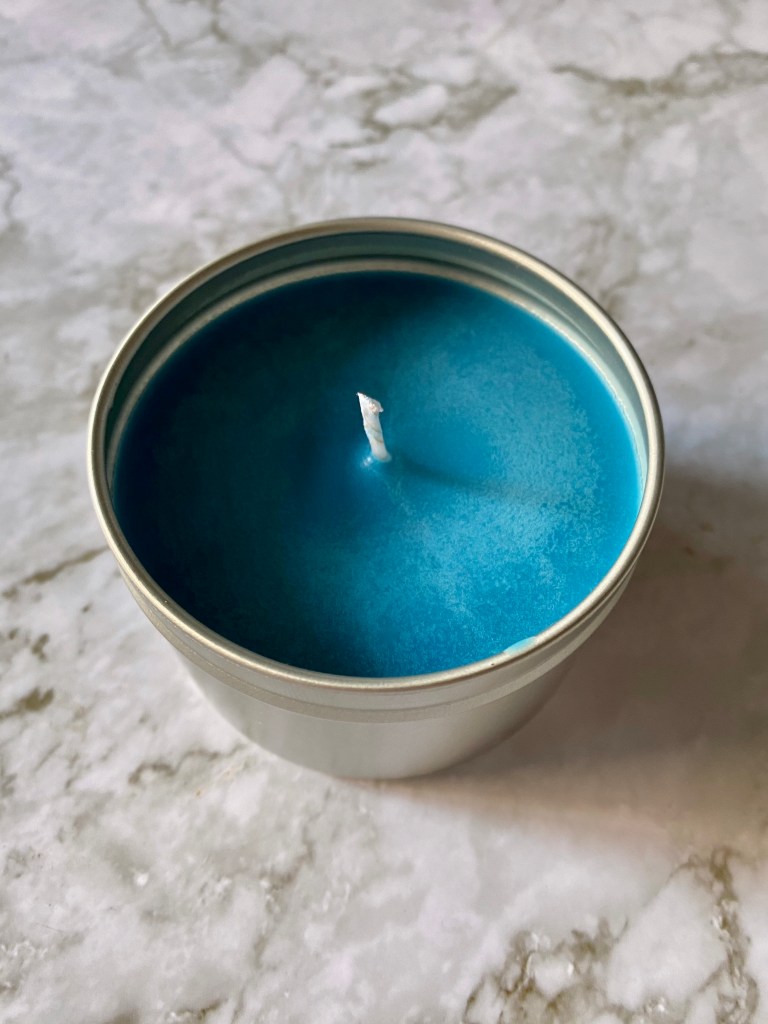
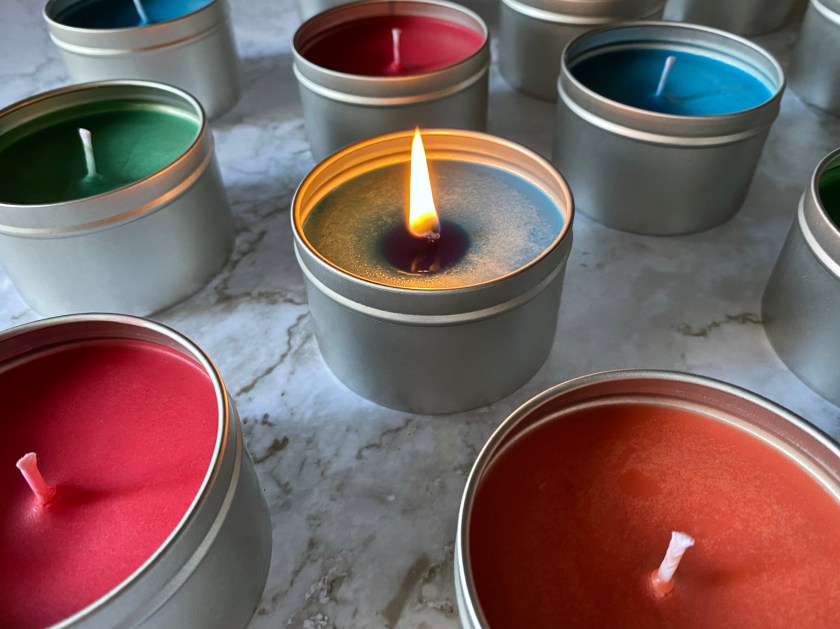 I bought a soy candle kit for myself several years ago, opened the box and looked at the supplies, then folded it back up and set it aside. For years! I don’t know if I felt intimidated or scared I’d get it wrong, but I’ve been missing out because it is pretty darn satisfying to make your own candles!


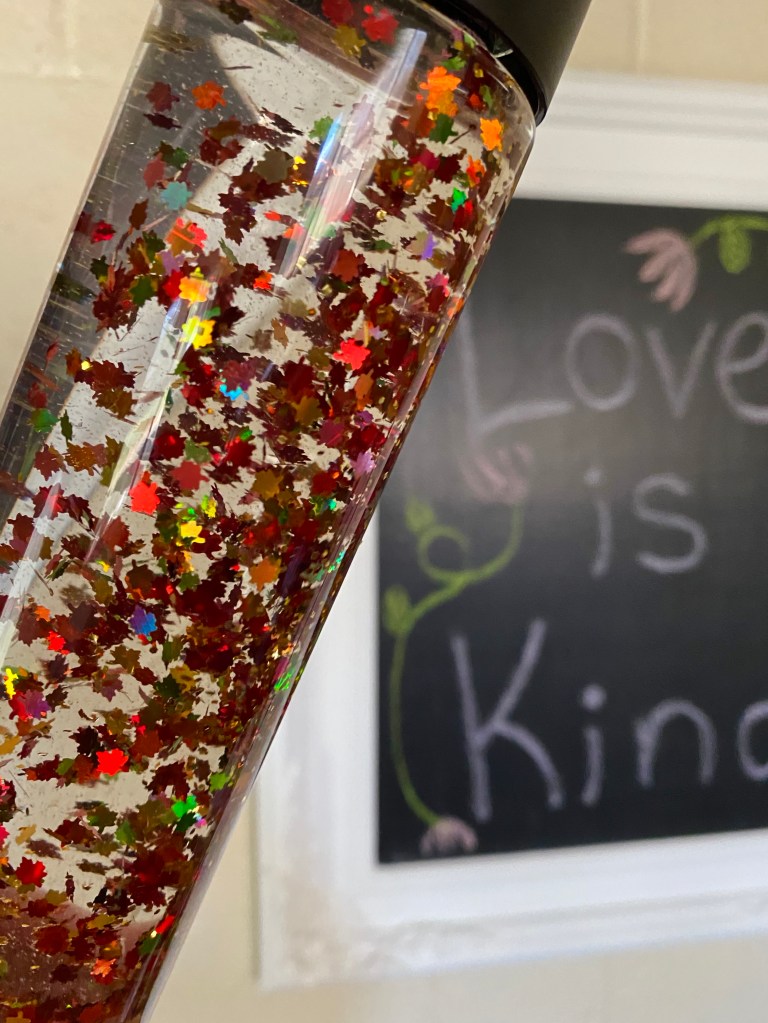
 I love Autumn, it has to be my favorite season of the year!


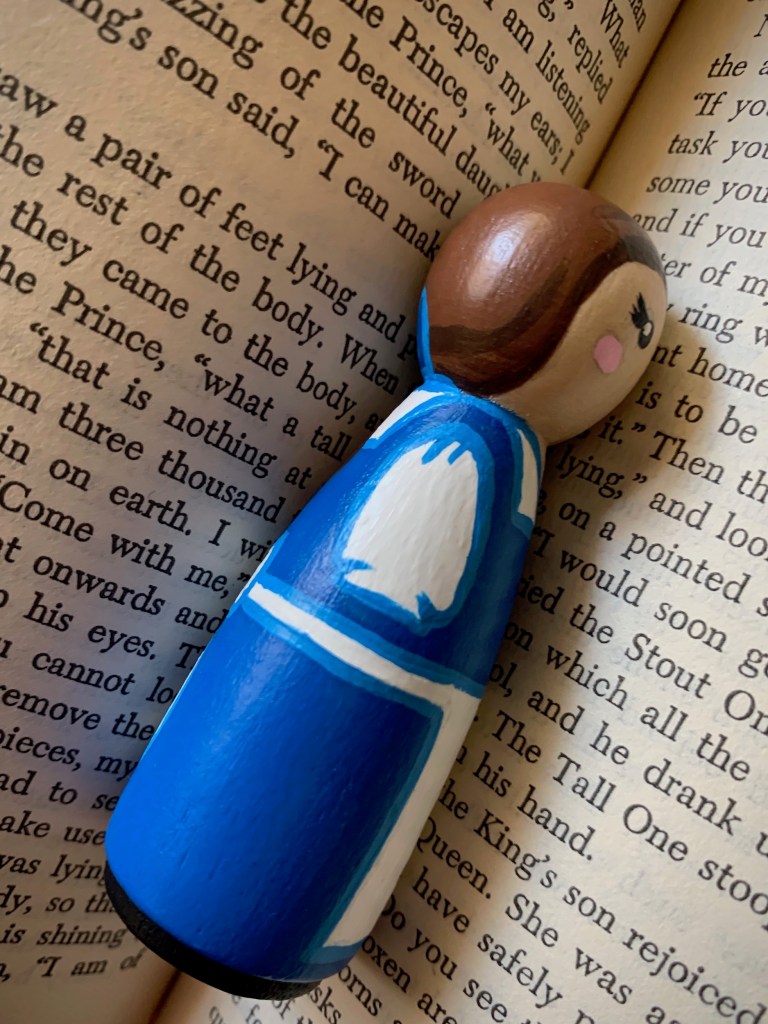
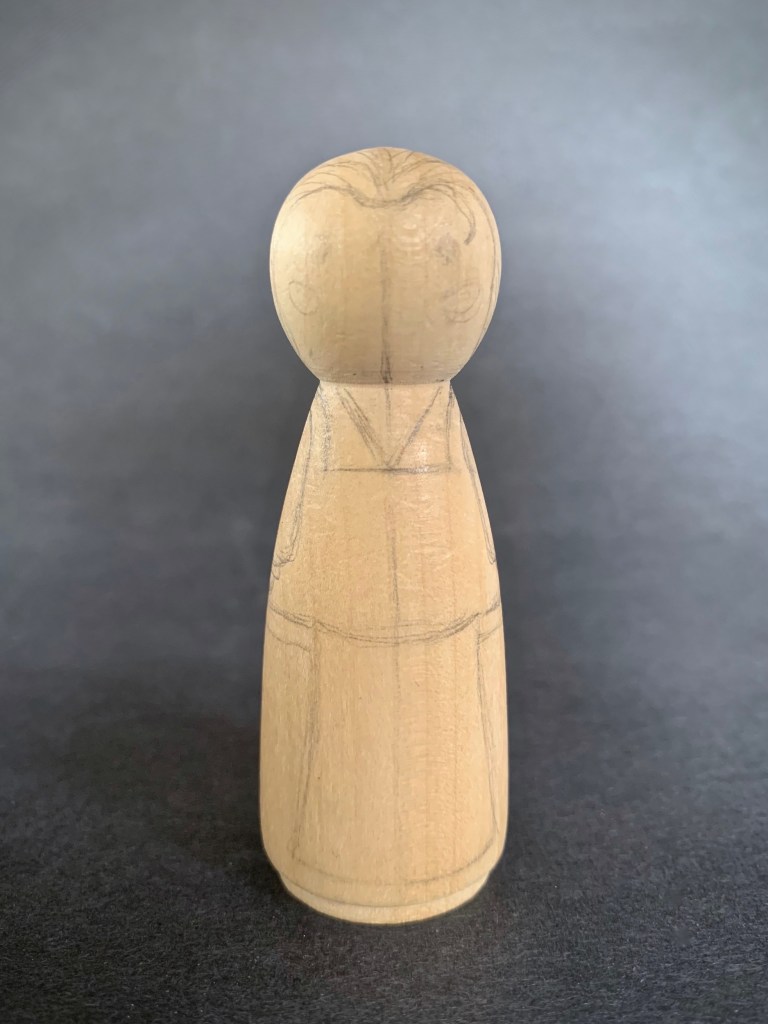
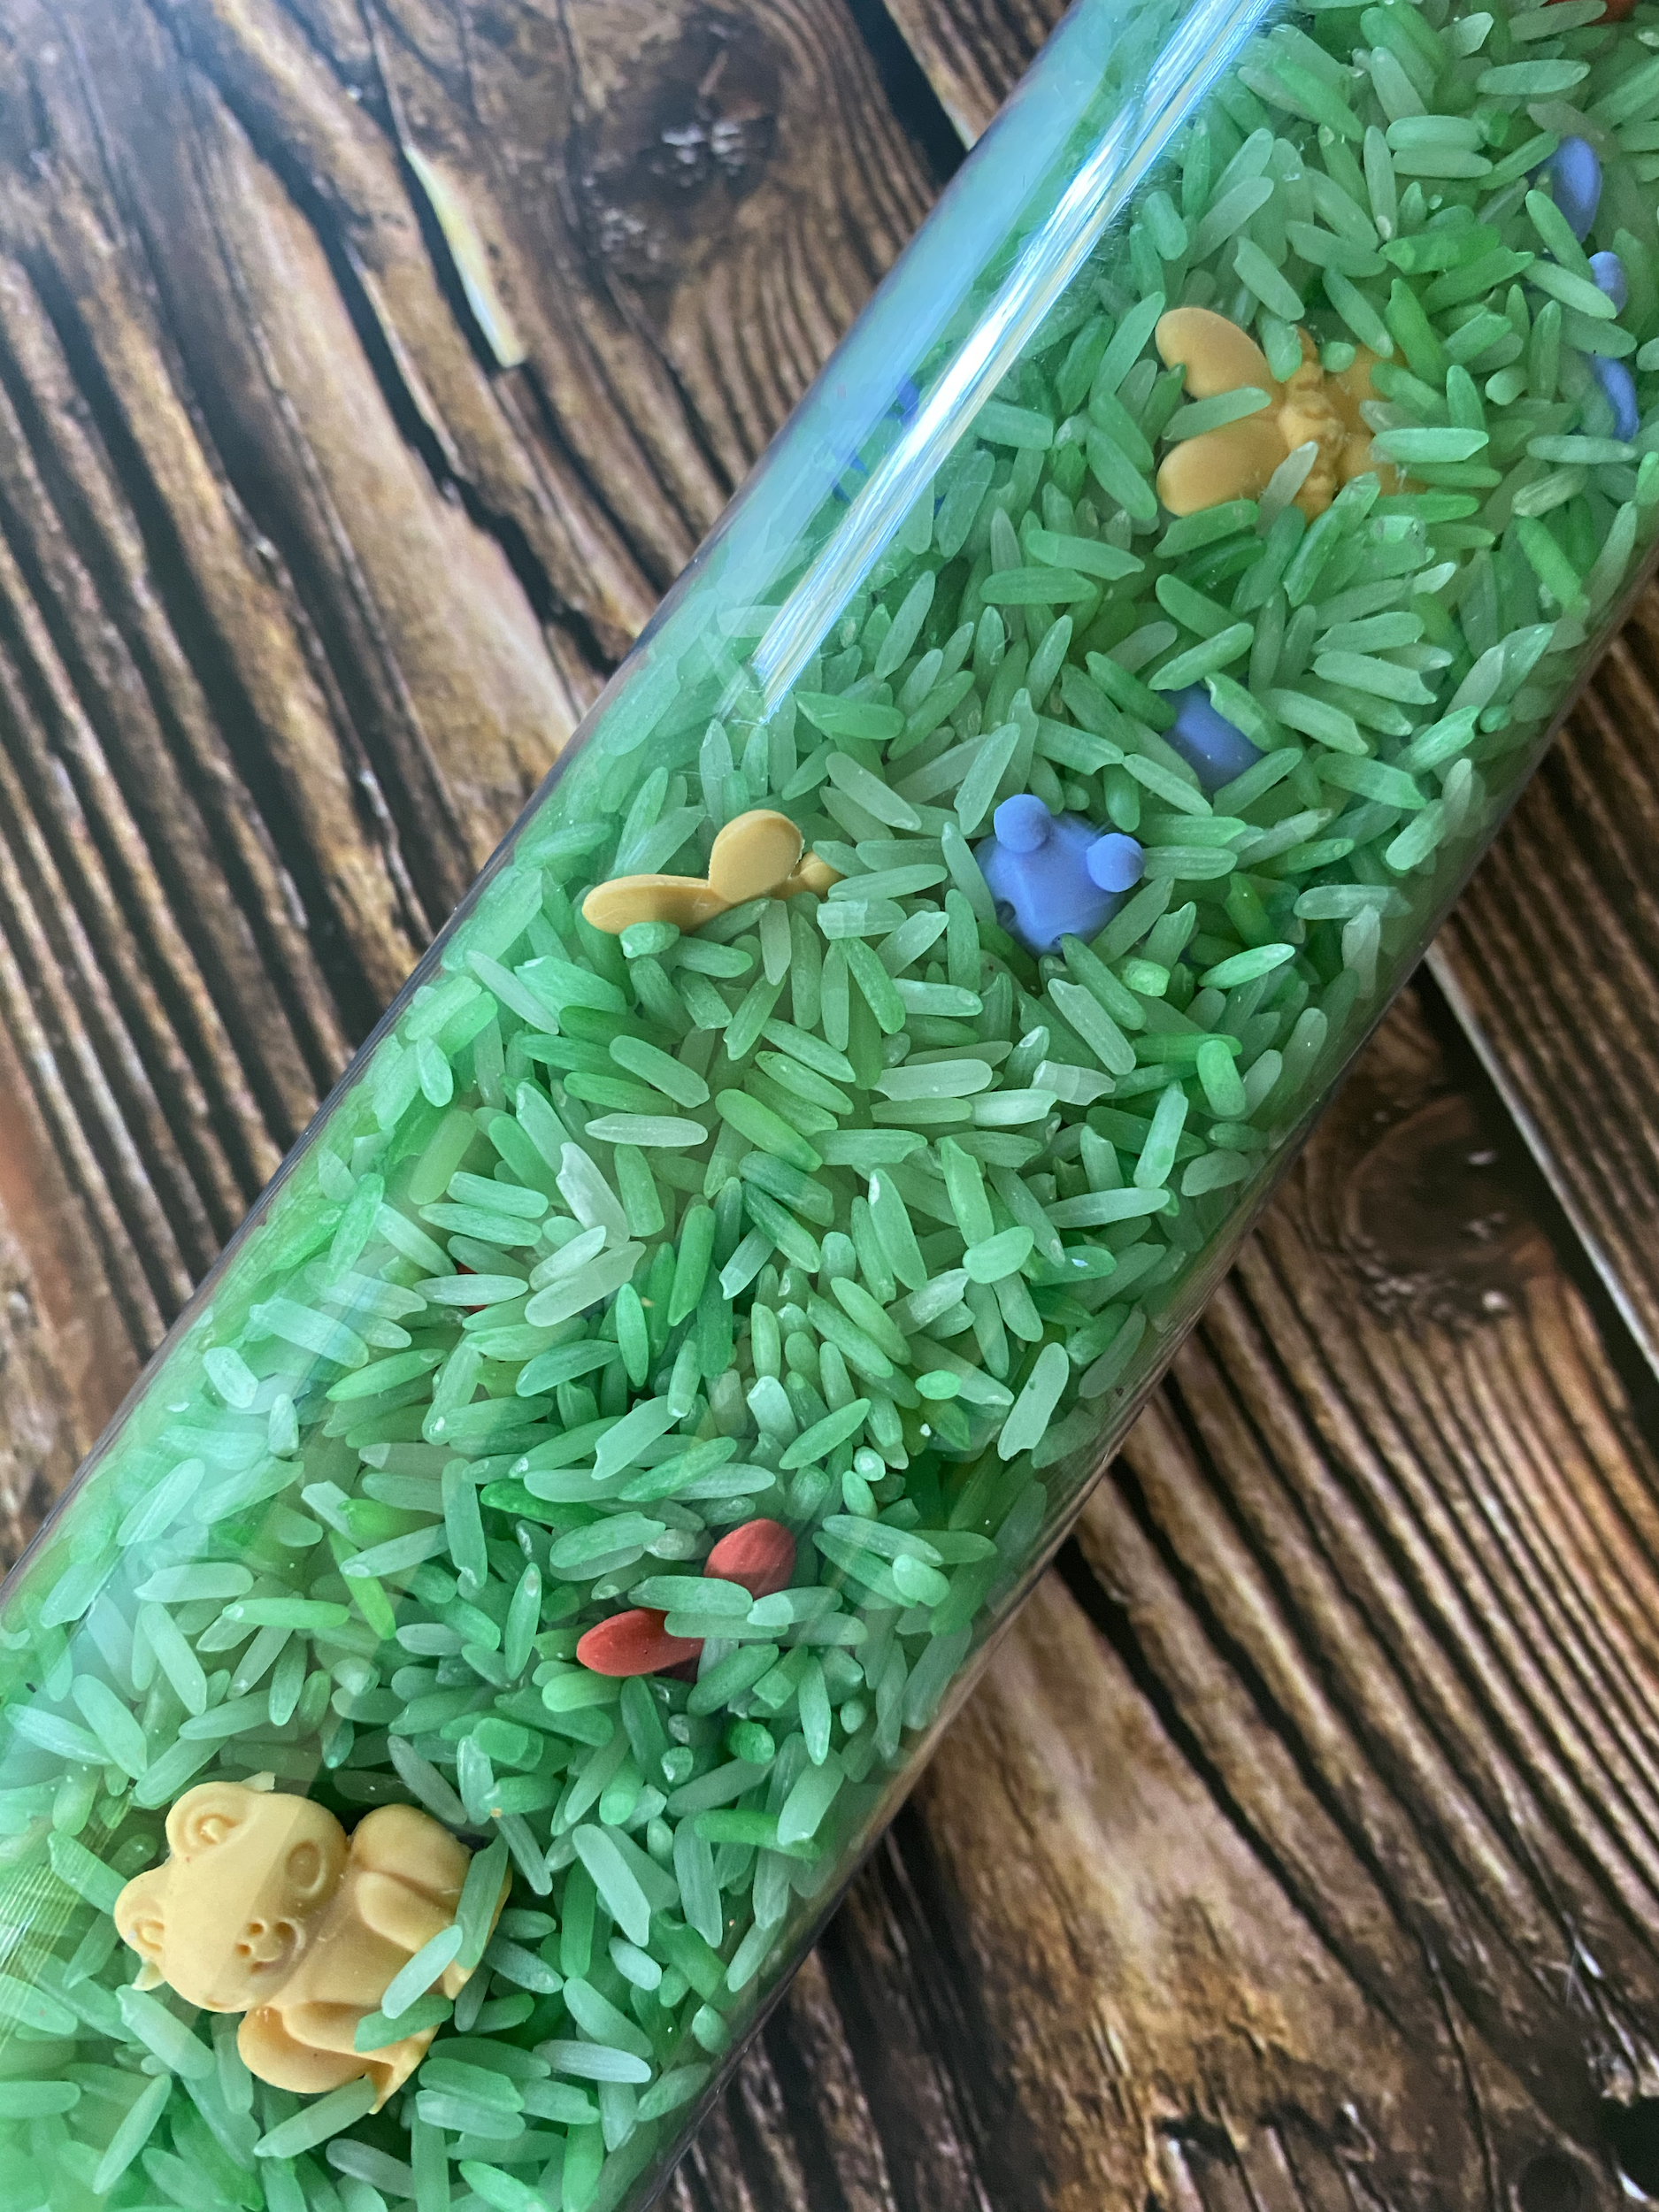
 Part of the fun in raising Zoey is making things that delight her; I want to create lasting, meaningful toys for her that are made with love and will be loved! Wooden toys are classic and beautiful, when created and treated right, they can last a lifetime; so let’s make some!