
 It’s the middle of Summer and I would love to take Zoey to the beach for the first time, but just about everything she picks up is quickly introduced to her mouth! I understand she’s figuring things out (and more power to her), but I’m not super enthusiastic about her ingesting beach sand. So, until she gets a little less eager to put everything in her mouth, why not bring a little beach experience to her?
Part of the fun in raising Zoey is making things that teach and fascinate her. We can make edible “sand” that’s fun to play in and safe to eat out of graham crackers and oatmeal; let’s make it!
Check back next week for the homemade teething cookies I made with the remaining edible “sand”.

SUPPLIES
- 1 box of graham crackers.
- 2 cups of oatmeal (I used whole grain old-fashioned oats)
- A food processor
- A mixing bowl
- A mixing spoon
- A container for playing in the “sand” (I used a heavy casserole dish)
- Beach or ocean themed toys (optional)
INSTRUCTIONS
- Open the graham crackers and blend them in the food processor until they are a fine sand-like texture.
- Remove the graham crackers from the food processor and pour them into a mixing bowl.
- Measure the oatmeal into the food processor and blend it until it is also a fine sand-like texture.
- Remove the oatmeal from the food processor and add it to the mixing bowl with the graham crackers.
- Using a mixing spoon, stir the graham crackers and oatmeal together until well combined.
- Pour the edible “sand” into the container you’ve chosen for your baby to play in. I used a heavy casserole dish since Zoey’s not strong enough to flip it yet. You can always double or triple the graham cracker and oatmeal ratio if you want to fill a larger container.

- Arrange beach and/or ocean themed toys in the sand for your little one to play with (optional).

- Introduce the edible “sand” to your baby and enjoy!


 During these Summer months, and even into Fall, we get some pretty warm and sometimes uncomfortably hot days. To cool Zoey off and soothe her teething gums, I thought it would be fun and refreshing to make some frozen treats using the food she already eats and candy molds!


 Part of the fun in raising Zoey is making things that teach and fascinate her. I’ve seen the stacking toy done in so many fun and creative ways, but I don’t believe I’ve seen a felt doughnut stacking toy yet, so let’s make one!
 I have provided the patterns I used to make the four different sizes of donuts for my stacking toy. You’re welcome to use them if the base of your toy closely resembles mine, or you can make them as play food without the base. Another option would be to create your own patterns using the measurements of your base and a compass.
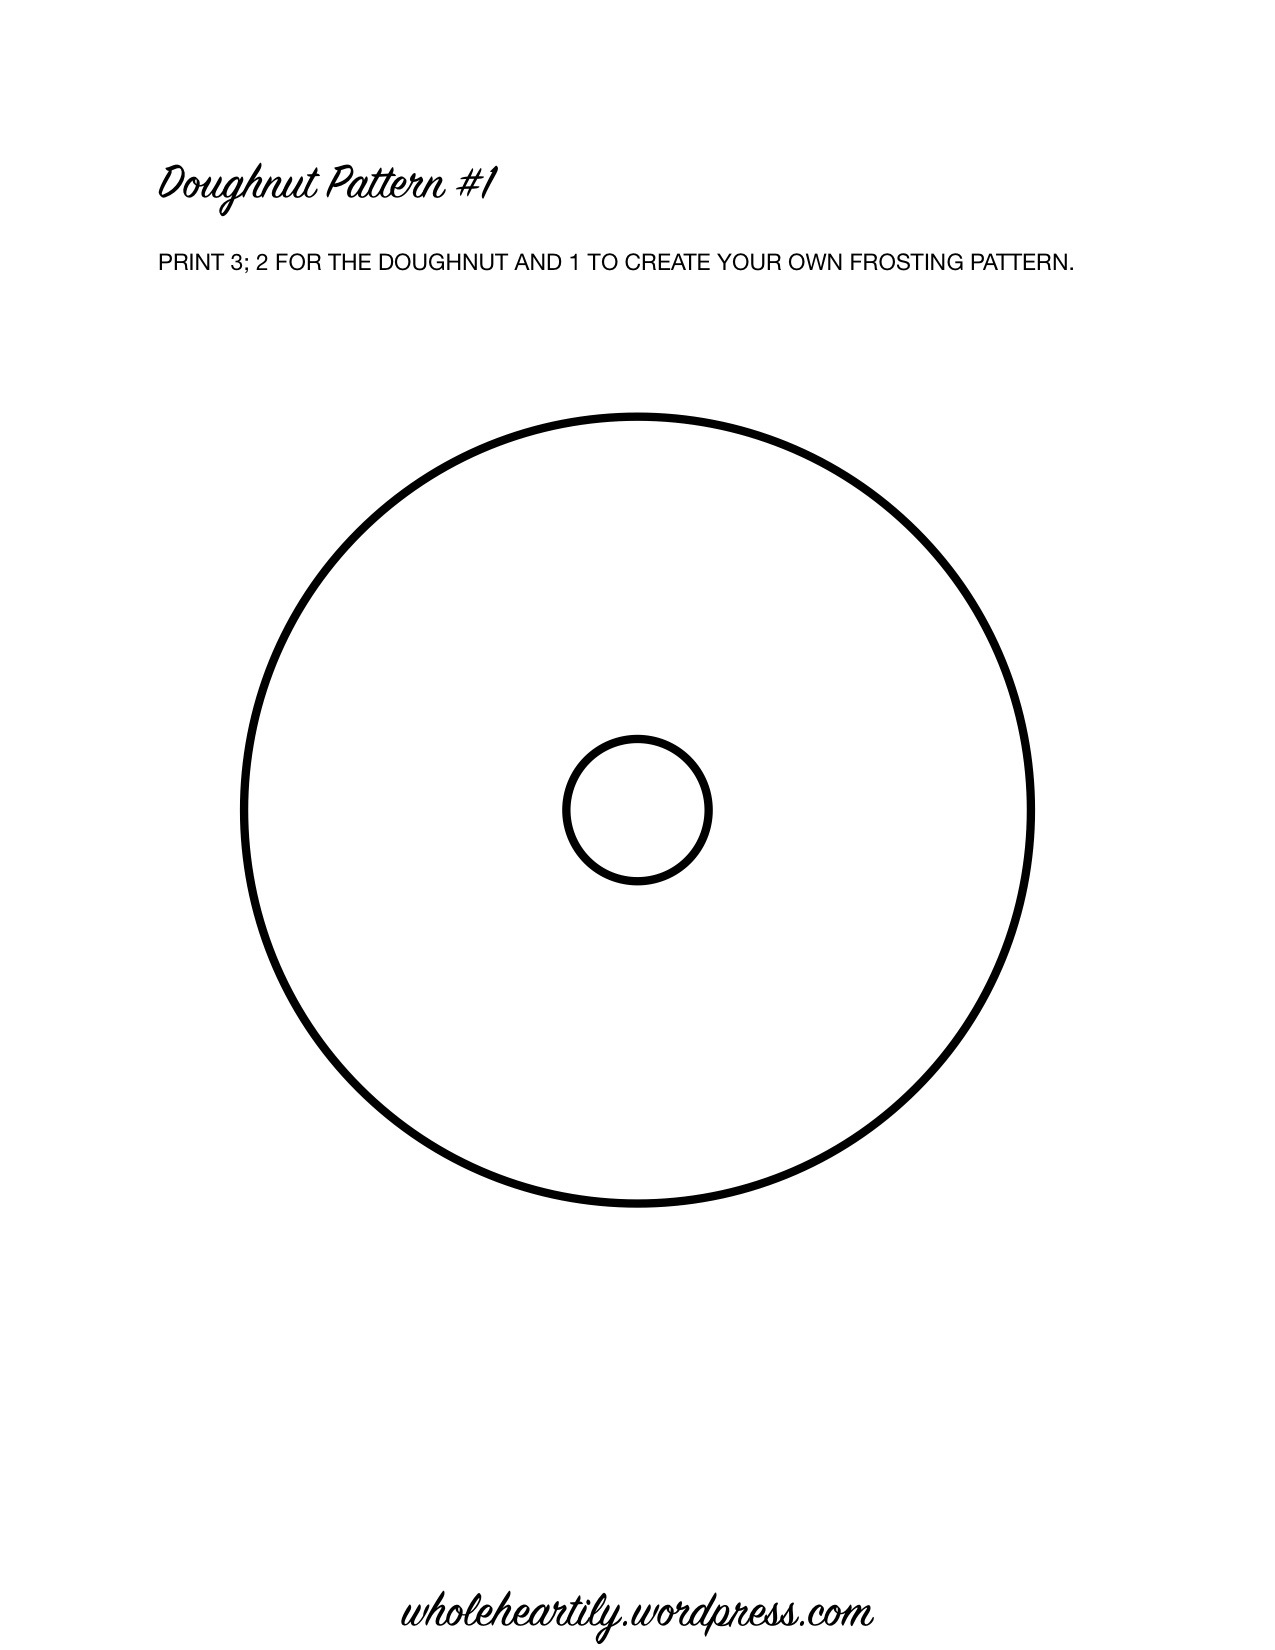


 With Summer solstice right around the corner, I was thinking about the beach and got inspired to make an ocean wave sensory bottle (not to mention I had all the ingredients already on hand)! Part of the fun in raising Zoey is making things that teach and fascinate her. And, if I’m being completely honest, I find sensory bottles fascinating too, so let’s make one!


 Years ago, I purchased an old empty frame from a Goodwill store. I didn’t know exactly what I wanted to use it for, I just knew that I loved the decals on each corner and wanted to fix it up and give it a home. After years of procrastinating while the frame sat around and gathered dust, I finally decided to paint it and create a chalkboard.
 First, remove and sand one side of the mounting board to smooth it out. Once it’s as smooth as you prefer clean it off and prime it, then begin layering coats of chalkboard paint until you’ve reached your desired chalkboard depth and texture.
 Once both pieces are dry, you can reassemble the frame. Before writing or drawing on the chalkboard, you’ll need to prime it by coating it with chalk.
  As you can see I just wrote the first thing that came to my mind here, but I intend on leaving this frame up as decor year round and changing it for different events, seasons or holidays!
