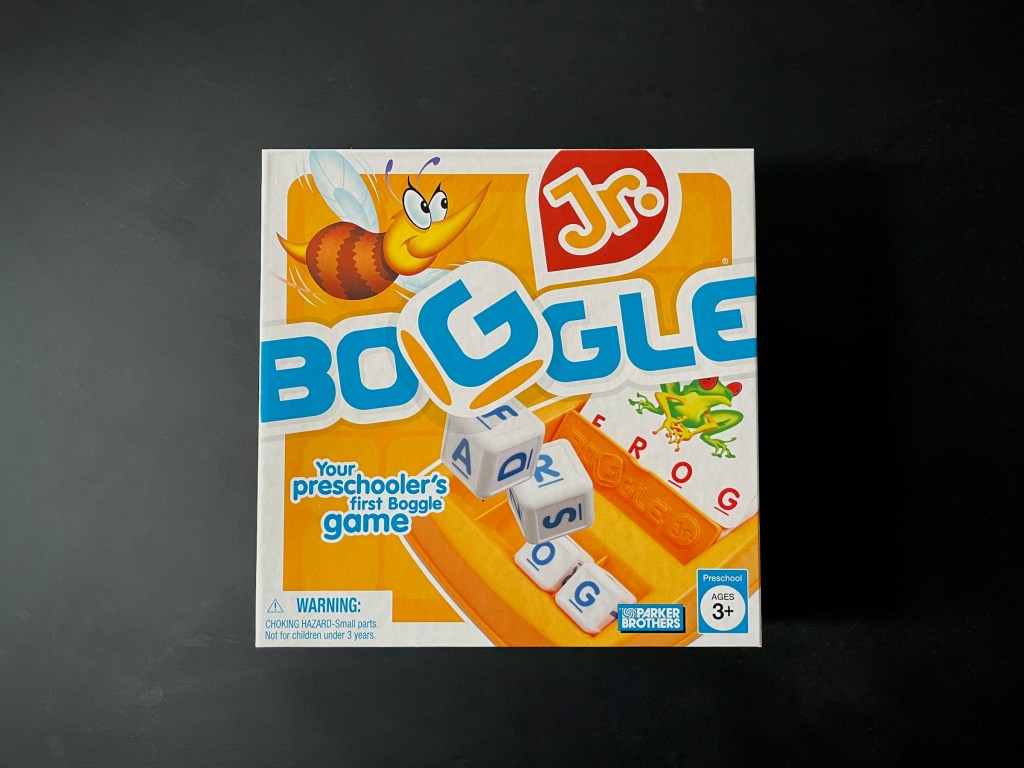
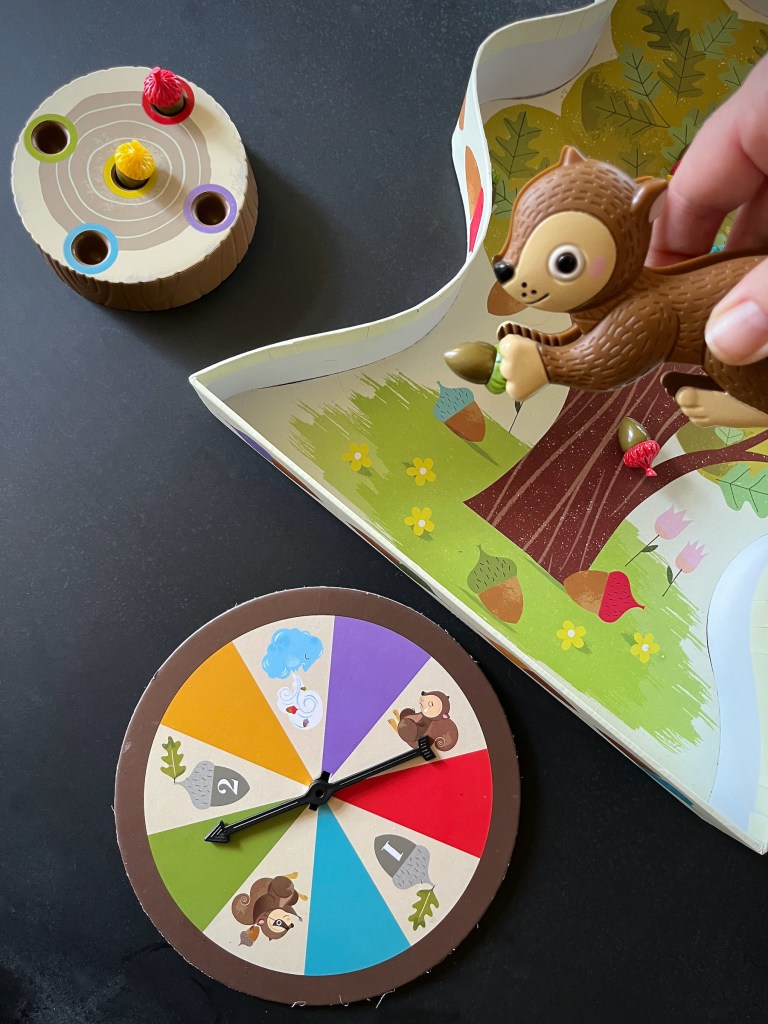
Part of the fun in raising Zoey is finding things that delight and educate her; I want to find fun, creative board games to play with her during our family game nights! This week we played Boggle Jr. by Hasbro for 1 to 2 players!
This game will help children with their spelling in a fun, rewarding way! If this means setting up a reward system for if they could finish all the 3 letter words, then the 4 letter words and then the combined deck, do it! Education should be fun and rewarding! I could see improvement in Zoey’s word recognition and spelling almost immediately.
Let’s play!

IN THE BOX
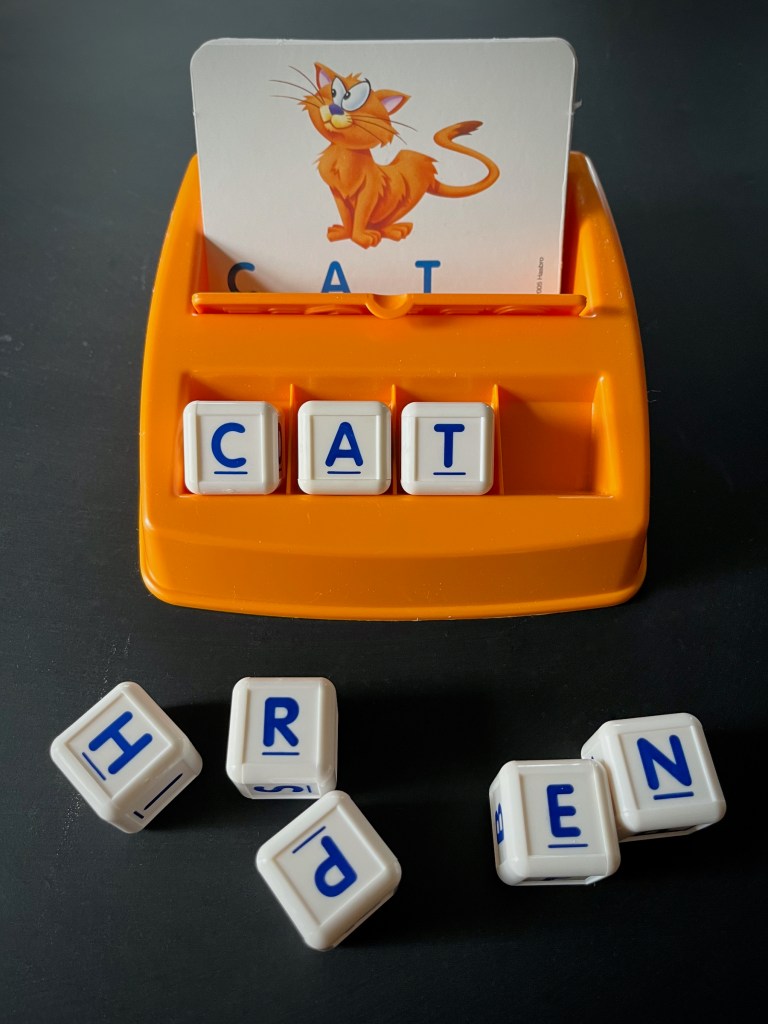
- Boggle Jr. game tray
- 8 letter cubes
- 30 picture/word cards (double-sided)
INSTRUCTIONS

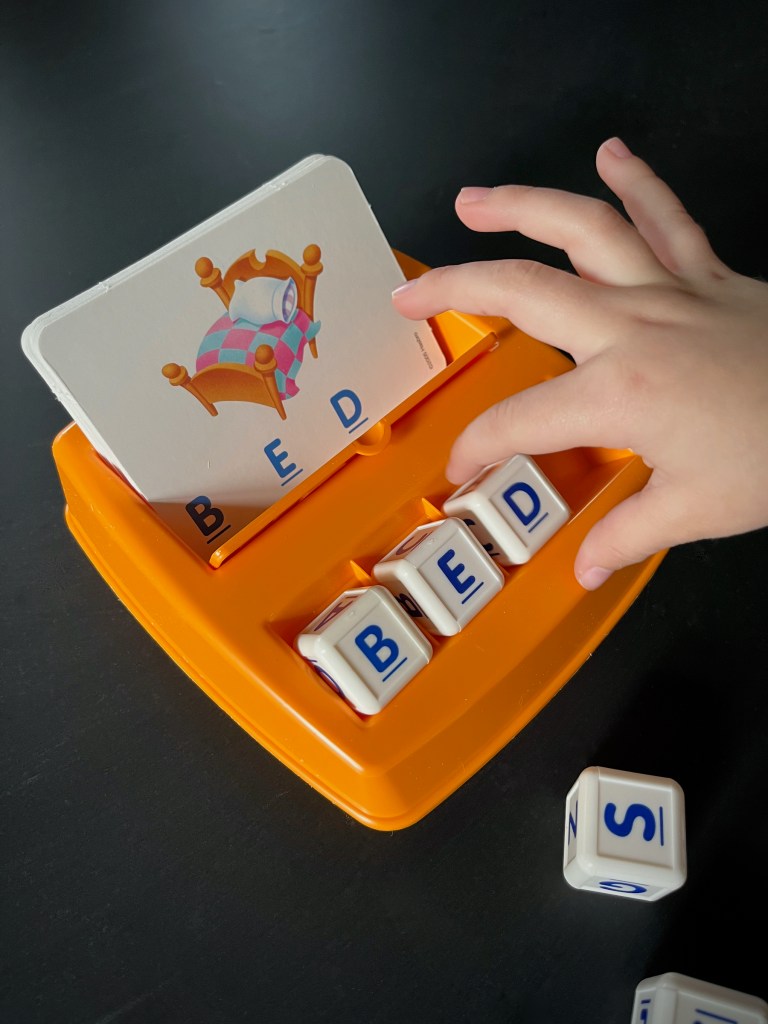
Game # 1: Match it-Spell it
- Shuffle and stack the picture/word cards so the 3-letter words are all face up and turned in the same direction.
- Place the stack in the tray above the cube slots, facing the child (the word cover is flipped down & out of use).
- Point to the picture on the card and ask the child what it is — i.e. a pig, a jar, a pie, the sun, etc.
- Point to the word below the picture and say the word, then spell the word out loud letter by letter.
- Go back to the first letter and have the child find that letter on one of the cubes and place the cube in the first slot of the tray, directly under the letter as it appears on the card.
- Proceed through the other two letters until the 3-letter word is spelled out in cubes under the card.
- Reinforce what the child has just accomplished by saying the word and spelling together. Give the child the top card and proceed through the rest of the remaining 3-letter words in the same manner.
- Next play with 4-letter word cards. Then shuffle the cards and play with 3 and 4 letter words mixed.
Game # 2: Cover it-Spell it
- Shuffle and stack the picture/word cards so the 3-letter words are all face up and turned in the same direction.
- Place the stack in the tray above the cube slots, facing the child (the word cover is flipped up & in use).
- The child glances at the word under the cover, then hides it again. Now he/she is no longer matching letters with letter, but is actually spelling the word from memory.
- Next play with 4-letter word cards. Then shuffle the cards and play with 3 and 4 letter words mixed.
- For two players the children take turns. Each time a child successfully spells a word from memory, he or she wins that card and continues to the next.
- If a child spells a word incorrectly, that card is placed on the bottom of the pile of cards and that child’s turn ends. When the card comes up again, the player whose turn it is attempts to spell the word.
- The children alternate turns until all the cards have been used, whoever has won more cards during the game wins!
ENJOY!


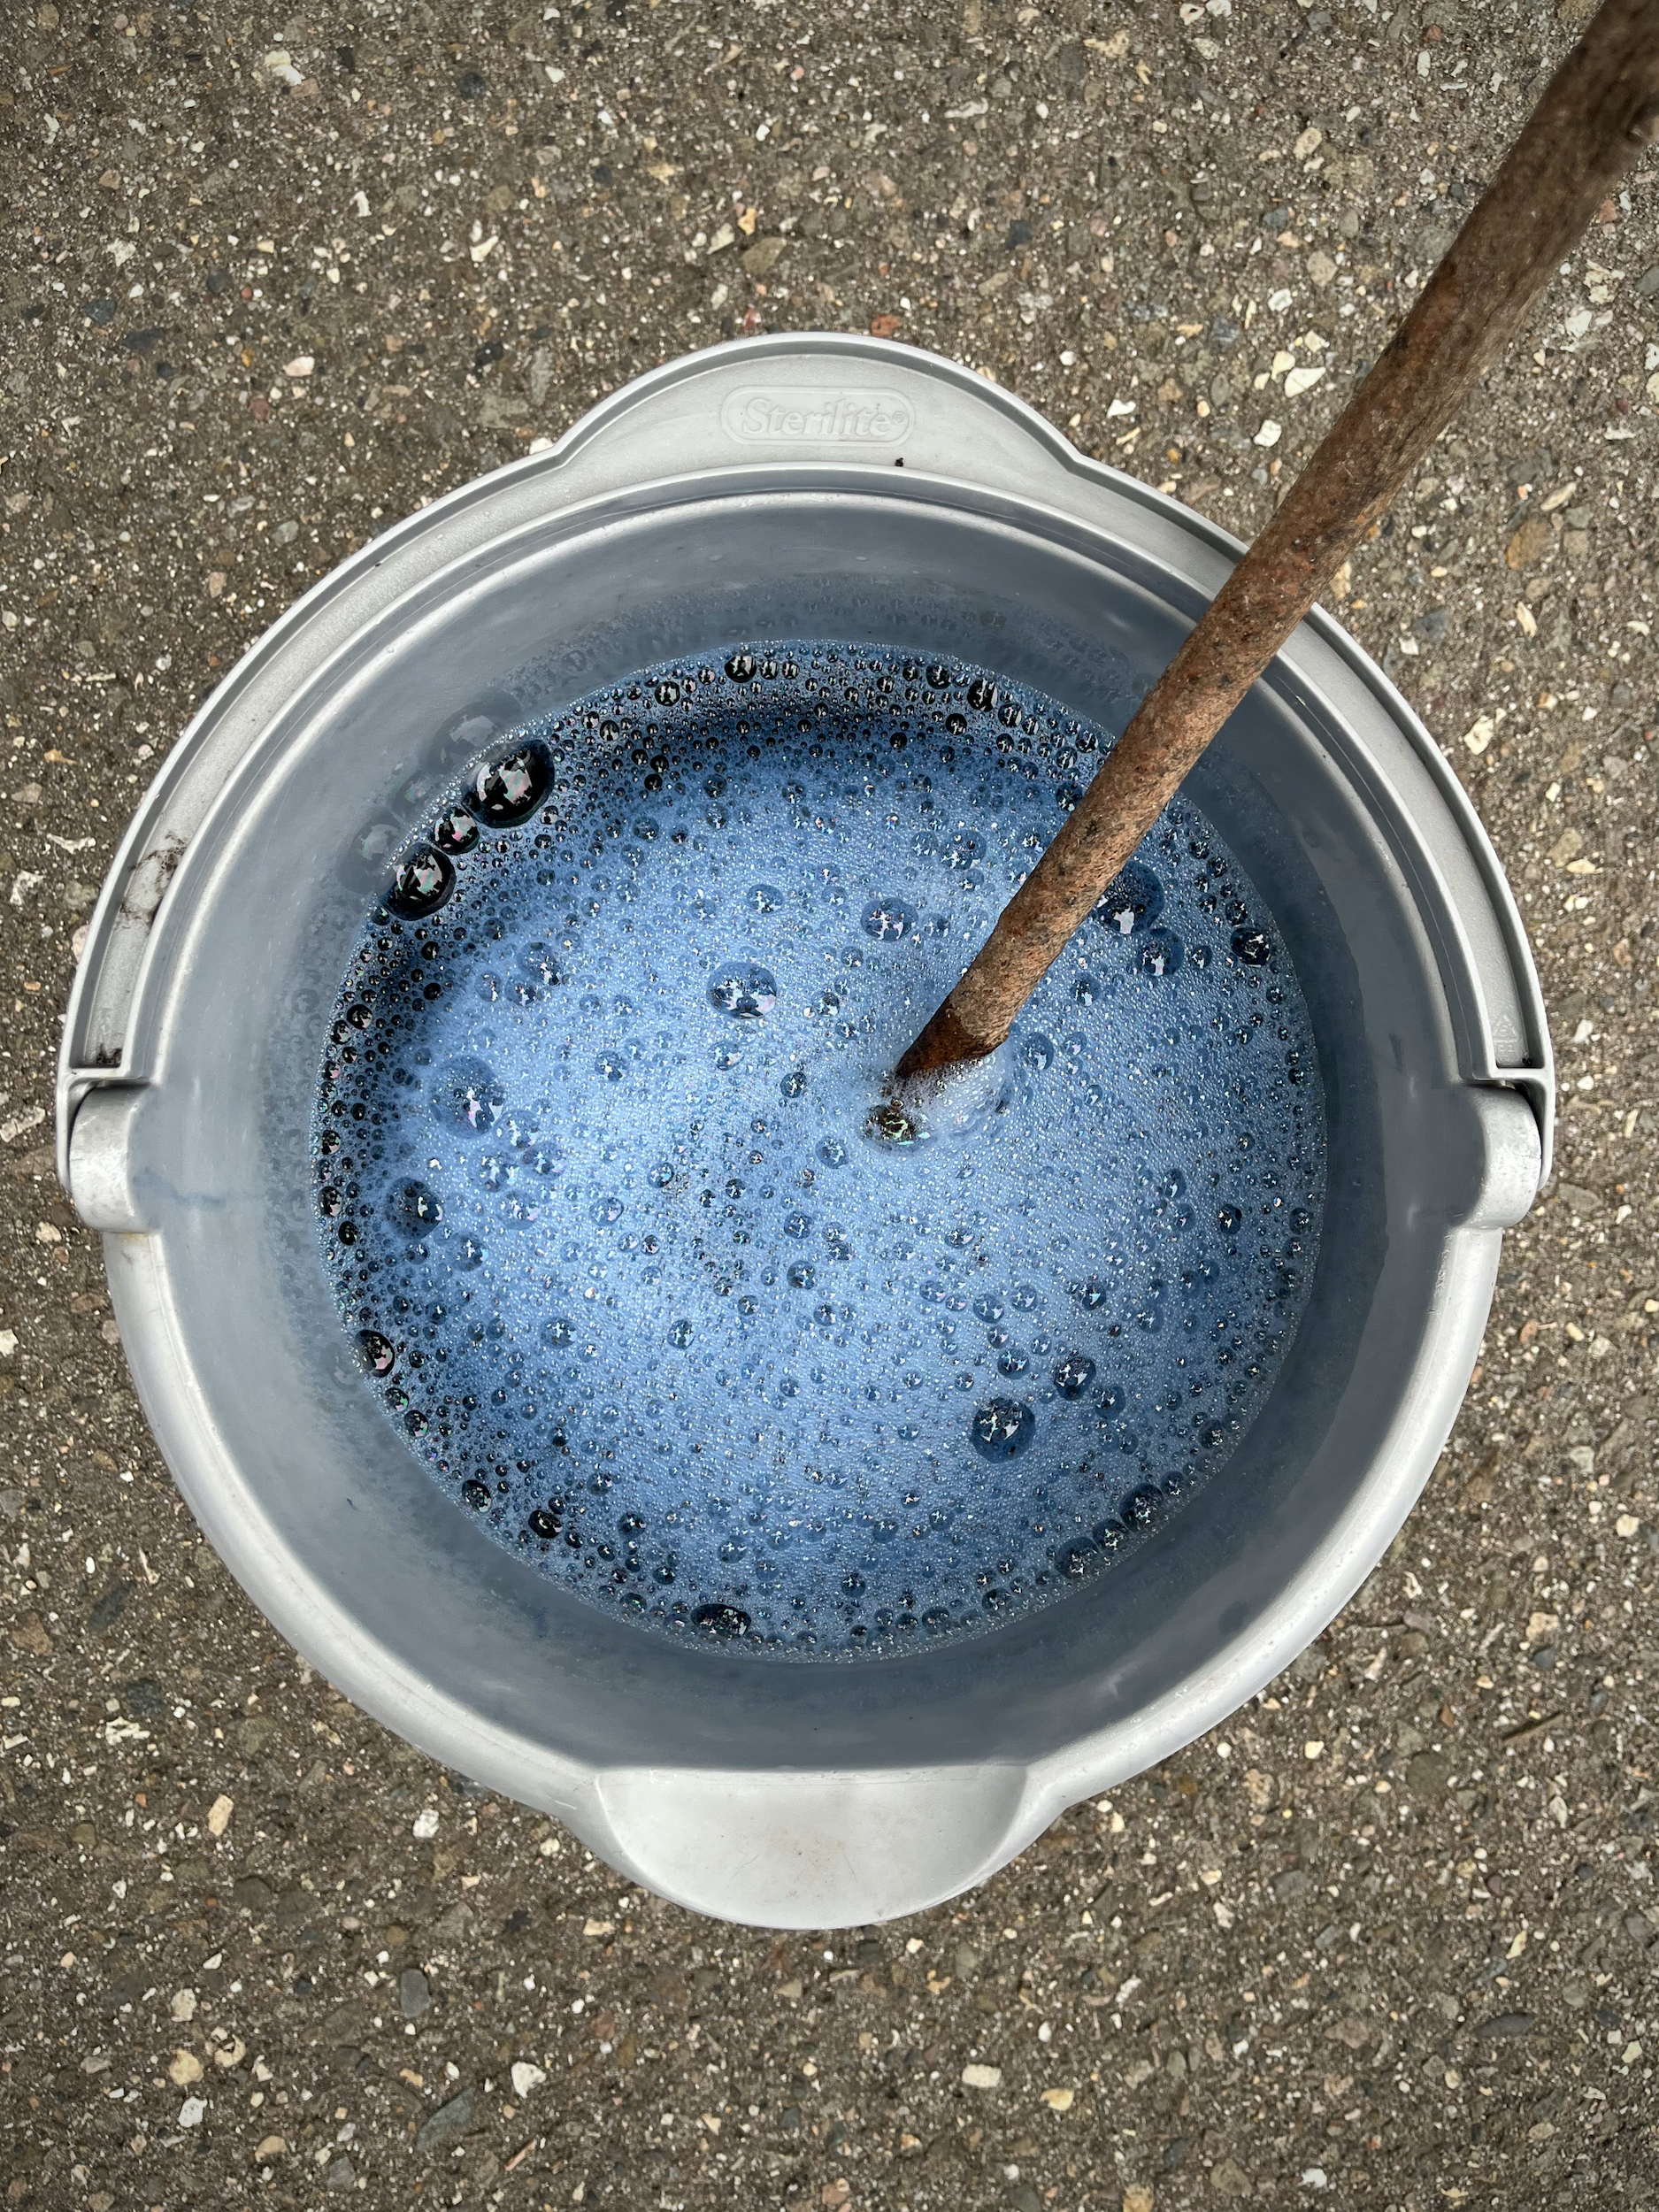


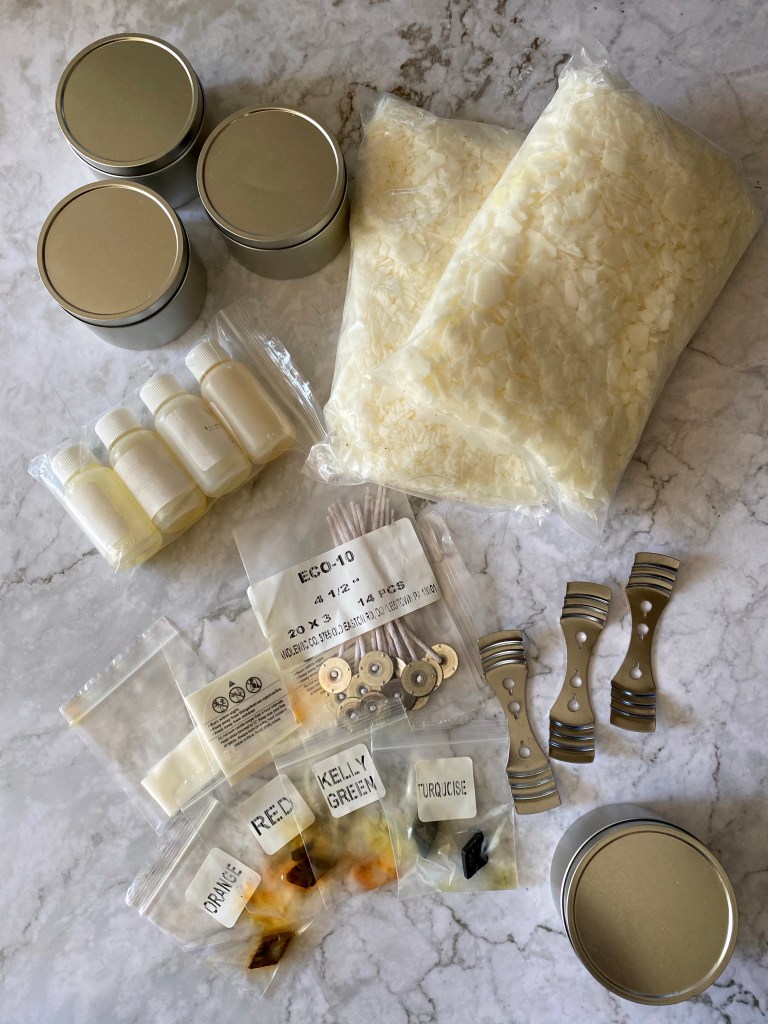
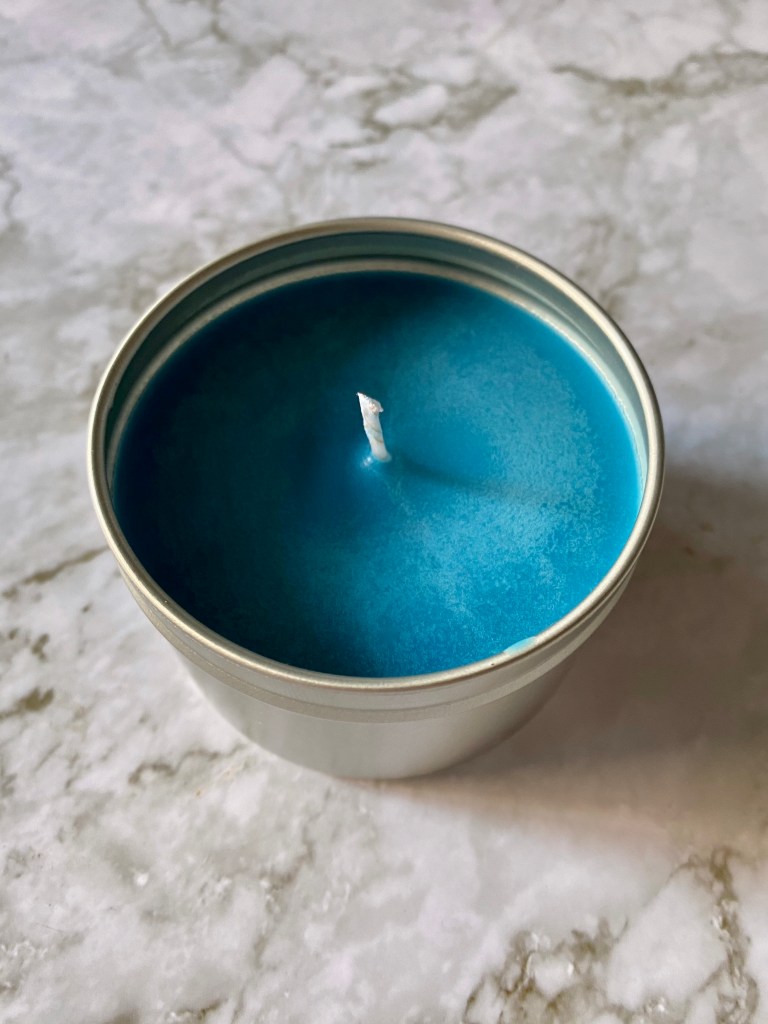
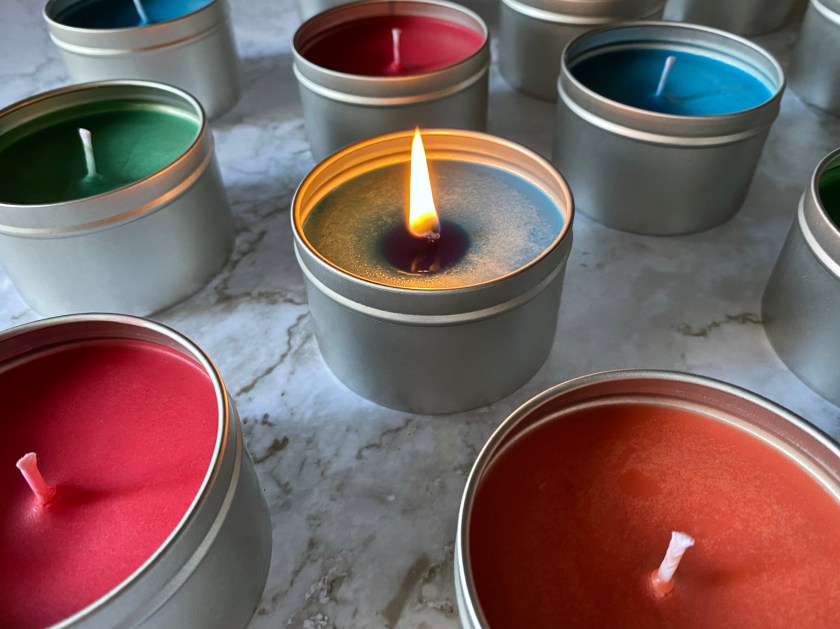 I bought a soy candle kit for myself several years ago, opened the box and looked at the supplies, then folded it back up and set it aside. For years! I don’t know if I felt intimidated or scared I’d get it wrong, but I’ve been missing out because it is pretty darn satisfying to make your own candles!